Build a shot with a target and a route
That Freekick Challenge is a Roblox freekick sandbox built around customizable setups. Before changing any setting, pick a reachable part of the goal and trace a route from the ball past the defensive wall. This gives every adjustment a purpose: either it helps the ball clear an obstacle, reach the intended lane, or stay away from the goalkeeper.
The official game description confirms customization and challenges against other players. It does not list every control in the setup editor. Use the current game interface to see which elements your session lets you move; do not expect every item visible in a promotional image to be adjustable in exactly the same way.
The visible parts of a freekick setup
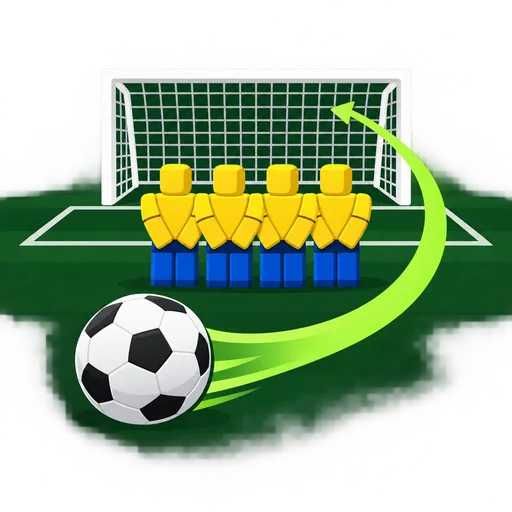
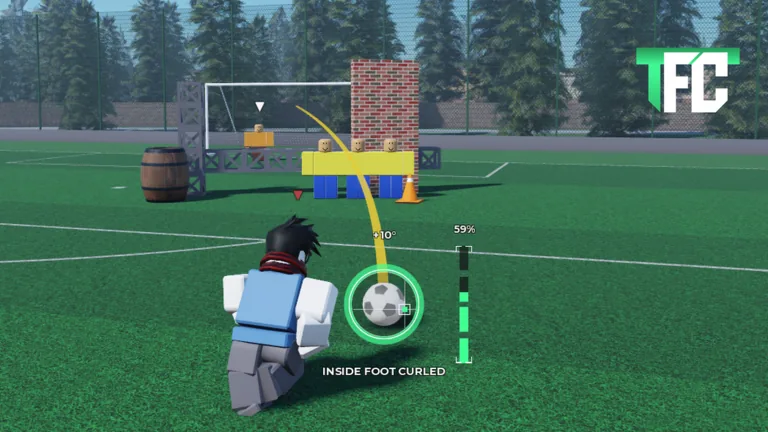
Three official Roblox images provide a useful visual map. A player stands behind a ball on a pitch. A yellow-and-blue defensive wall blocks the direct line to a goal. A goalkeeper occupies the goal area. A curved yellow guide extends toward the target. Two images show an INSIDE FOOT CURLED label, a degree value, and a percentage meter. Another image adds a barrel, brick structure, and cone.
| Element | Decision it helps you make |
|---|---|
| Ball position | Where the shot begins. |
| Defensive wall | Whether a direct or curved lane is blocked. |
| Goalkeeper | Which part of the goal is less covered. |
| Trajectory guide | Whether your planned route bends toward the target. |
| Angle display | How your current setup compares with a previous attempt. |
| Percentage meter | How much displayed power you selected for this test. |
| Obstacles | Whether the route must avoid another object before goal. |
The screenshot labels are useful for identifying the interface, but their shown values are examples. A displayed 59 percent or +10 degrees is not a universal recommendation. A different ball position or wall arrangement can make the same setting produce a different practical challenge.
Set up a fair test
Choose a simple layout first. Keep the wall, goalkeeper, and ball position fixed for two or three kicks. Adjust the route until the ball clears the wall; then address the goalkeeper. If the ball misses the goal entirely, bring the target back toward the frame before trying to add more curve or power.
This order avoids a common trap: solving the last problem before the first. There is little value in finding an open corner if every attempt strikes the wall. Equally, a shot that clears the wall but goes wide needs a targeting correction, not a celebration of its curve.
Once the basic layout works, try the obstacles shown in the game’s artwork if your live setup offers them. Change one obstacle or one shot variable at a time. That lets you learn whether the difficulty came from the object, the goalkeeper, or a route that was already too narrow.
Prepare for player challenges
The official description says you can challenge other players, and public gameplay footage shows a timed one-versus-one shot exchange. A familiar setup helps under a countdown. Spend your practice time learning a reliable baseline: where the wall sits, which lane you prefer, and how the displayed meter feels from that position.
When a challenge presents a different layout, read it afresh. A repeated number is only useful when the surrounding setup is similar. Keep the principle, not an exact copied value: clear the obstacle, choose a target, and judge the result.
FAQ
Can I customize my free kick in TFC?
Yes. The official Roblox description explicitly calls the experience a customizable freekick sandbox.
Does every object in a screenshot have a special scoring rule?
The images show obstacles, but do not document a scoring formula for them. Use the current game instructions for any scoring details.
Is the trajectory guide a guaranteed result?
Use it as a planning reference and compare it with the actual shot. The official images do not define it as a guarantee.
Which setting should I change first?
Start with the route that gets the ball past the wall. Then refine the target and power while keeping the setup consistent.